Earth Science · ESS-003
Mineral & Rock Identification
Scratch, streak, and split unknown specimens. Name the mineral, then the rock.
Included with a subscription. Create a free account to get started.

About this lab
Examine unknown specimens with an identification bench and compare the results across minerals and rocks. This interactive 3D experiment lets high school students choose tests using streak, hardness tools, acid, a magnet, fracture inspection, and a contact angle instrument, then weigh and immerse selected fragments. A property record combines the individual tests with specimen texture and observed surfaces. Mass-volume points provide a density comparison for differently sized pieces, while magnified rock observations support classification by origin. The investigation follows the available identification references and keeps multiple kinds of specimen evidence together for each naming decision. The course catalog does not list a specific standards alignment for this investigation.
What this investigation asks
A mineral can vary in outward color while retaining a more informative combination of properties. This investigation uses streak, hardness, luster, cleavage, density, and a reference classification pathway to identify specimens. Begin by describing the observation rather than guessing the name from one attractive surface. A rock can contain multiple minerals, so a mineral test and a whole-rock texture classification address different questions. The goal is to combine several kinds of evidence and show which one supports each step in the identification route.
Design and measure the comparison
Use the hardness tools, streak plate, and surface observations under the course procedure. Distinguish a scratch on the specimen from powder deposited on the test surface. For cleavage, locate repeated break directions and measure the angle between the selected planes. A naturally grown crystal face can look flat but is not automatically a cleavage surface. Retain the tested specimen and the actual outcome for each tool. An observation that a tool fails to scratch provides a bound on hardness, not a precise hardness measurement independent of the tool's listed reference value.
Connect the record to the model
Measure mass and displaced volume to estimate density, recording both initial and final water levels. A heavier piece is not necessarily denser if its volume is also larger. Compare multiple pieces using a mass-volume relation, with the slope interpreted under the stated material assumption. Use the reference-table pathway to combine that evidence with streak, hardness, luster, and cleavage. For rocks, inspect grain relationships and texture together with composition to distinguish the modeled formation categories. A single constituent's property does not establish the formation process for every rock containing it.
Interpret the evidence and its limits
Retain instrument resolution and the limitations of an irregular sample. A small displacement obtained from two rounded readings can have substantial relative uncertainty. Specimen variation, weathered surfaces, and ambiguous cleavage views can also limit classification. Report a name through the evidence path rather than rewriting uncertain observations to match a desired answer. If two candidate minerals remain compatible, identify the next discriminating test. The course reference collection provides a bounded identification exercise, not a guarantee that every unknown physical specimen belongs to one of the listed teaching samples.
Reference conditions and quantities
The course glass reference hardness is 5.5. In the specified test, quartz scratches the glass, while some other samples leave powder rather than a scratch. The tool value supplies a comparative threshold, not a direct density or a universal specimen identification. Retain the actual scratch-versus-deposit observation when using the hardness result in the evidence pathway.
Use the record to test your explanation
Write a prediction before collecting the comparison, naming the quantity that should change and the condition you will alter. Keep a reference run and vary one factor at a time when the question calls for a controlled test. Record the selected apparatus settings, units, and measurement interval. Where an activity supplies Ideal and Real modes or seeded variation, retain that identity with each record rather than mixing incompatible runs in one calculation.
Separate an instrument reading or counted observation from the model relationship used to explain it. Keep raw values alongside derived results so another student can reconstruct the argument. A graph needs labeled axes and a stated comparison range. If a result differs from a reference, inspect the conditions, rounding, and measurement procedure before changing the explanation.
For a classroom discussion, compare claims supported by the same evidence and identify an additional measurement that would distinguish competing accounts. Finish with a claim, the relevant observations, and reasoning tied to this course's model. State a specific limitation instead of assigning a general error label to every disagreement.
Related investigations
Compare material-property tests in Bonding & Properties of Solids, then inspect landscape context in Topographic Maps. Separate specimen composition, material response, and geographic form when combining observations from different scales.
Common questions
More Earth Science labs
- Members
Earth Science
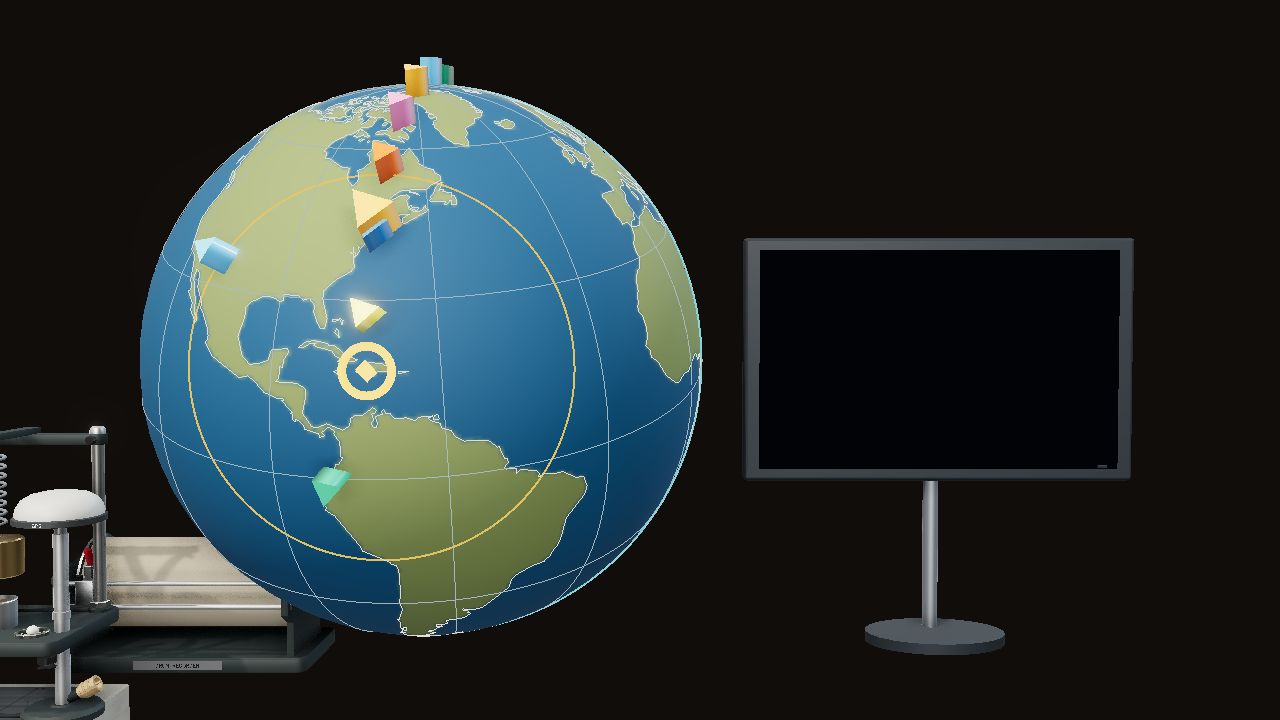
Earthquake Epicenter
Seismometers find where a quake started — and what lies deep inside Earth.
- Members
Earth Science
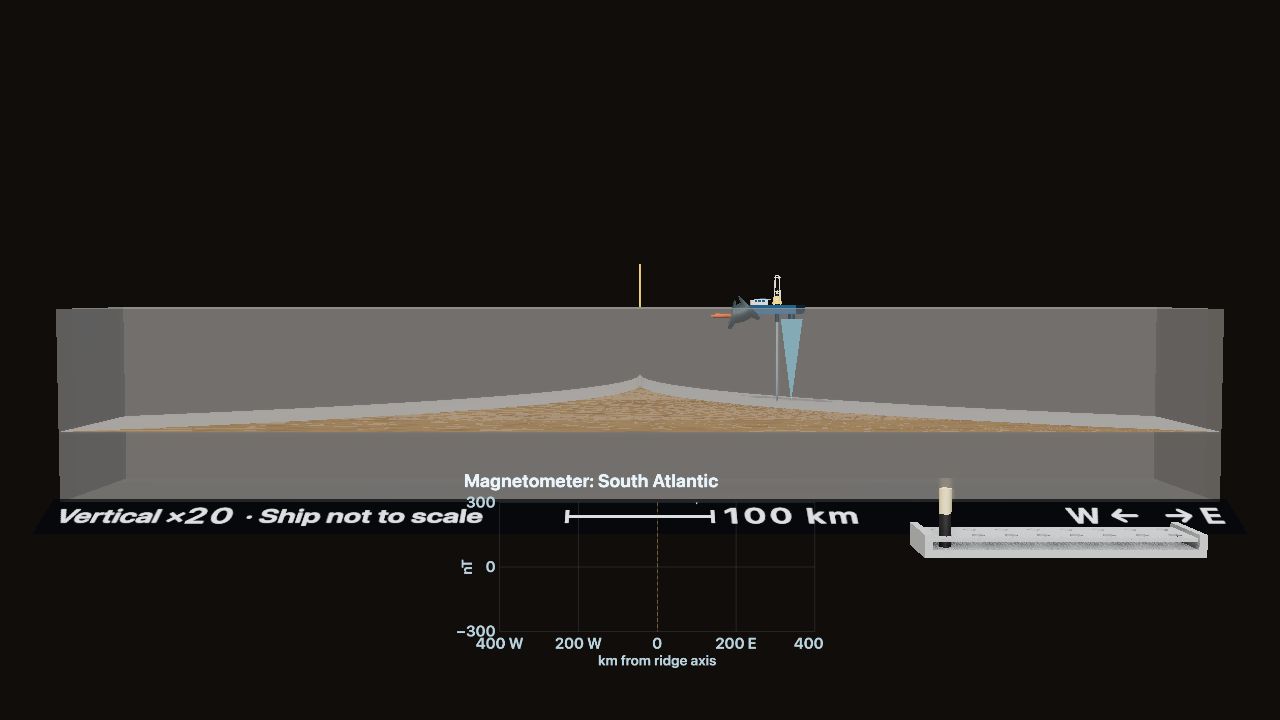
Seafloor Spreading & Plate Boundaries
Tow a magnetometer and drill cores across a mid-ocean ridge. What record do the seafloor rocks keep?
- Members
Earth Science
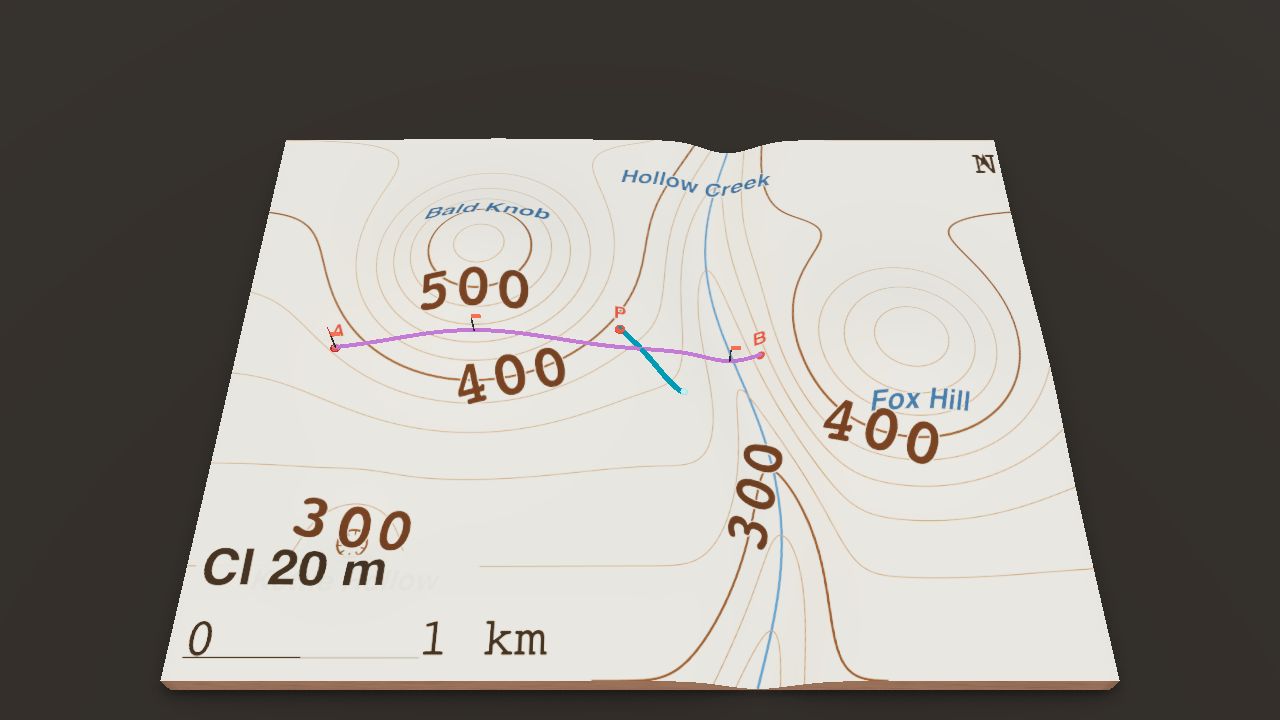
Topographic Maps & Landforms
Match contour lines to hills and valleys, then draw a profile.


