Earth Science · ESS-008
Air Masses & Fronts
Read station models and a weather map. Where will it rain tomorrow?
- NY HS-ESS2-8
- NY Regents “The Sky is the Limit”
Included with a subscription. Create a free account to get started.

About this lab
Read a weather map and measure conditions across fronts and through a storm passage. In this interactive 3D investigation for high school students, pick observing stations, move the mobile measurement point, and run the time sequence for the chosen city's forecast record. Temperature, humidity, pressure, and wind observations accompany cloud and precipitation displays. Comparing sites on either side of each front supplies a spatial record, while the city graphs provide the temporal counterpart. A raised-front section and sounding view connect the station symbols and rainfall pattern with the modeled air masses and their motion. Course topics are aligned with New York standard HS-ESS2-8 and New York Regents required lab “The Sky is the Limit”.
What this investigation asks
A weather map combines temperature, dew point, pressure, wind, and cloud observations into a changing spatial pattern. This investigation uses station models and front positions to interpret that pattern. Begin by decoding the symbols and units instead of reading a pressure code as the complete pressure value. The goal is to use several neighboring observations to locate a boundary and explain its weather, rather than treating one cold station or one cloud icon as enough evidence for a particular front across the entire region.
Design and measure the comparison
Read temperature and dew point together to describe the selected air mass, then decode pressure and trend with the reference convention. Wind-barb direction indicates where the wind comes from, not where it travels toward on the map. Compare stations on different sides of the modeled boundary at matched times. Retain distance and observation time because the front moves and a station's later conditions can represent passage into another air mass. A change in wind or temperature supports a spatial inference best when compared with the surrounding pressure and moisture pattern.
Connect the record to the model
Use the course's front geometry to connect uplift with cloud and precipitation placement. A cold front has a steeper represented boundary and a narrower intense-weather region, while warmer air can rise along the gentler warm-front slope over the cooler air ahead. Keep actual station readings primary when the local wind direction differs from a broad expected pattern. Air masses have large-scale characteristic temperature and moisture, but they are not perfectly uniform at every point. The model links map evidence with a vertical structure rather than making a front simply a line that produces identical weather everywhere along it.
Interpret the evidence and its limits
Follow the selected low-pressure system over time and distinguish a modeled map sequence from a live forecast. Pressure troughs, wind turns, and moisture changes provide complementary evidence about location and passage. Decoding or unit errors can create apparent contradictions before any meteorological explanation is needed. A final account should specify the time, stations, inferred air masses, and supported front position. Explain what an additional station or later record would resolve, and avoid presenting one course scenario as a universal prediction of precipitation amount, exact wind direction, or weather timing in every real region.
Reference conditions and quantities
For the course lesson sequence at its initial modeled time, the low-center reference pressure is 995.582820 hPa and the high-center reference is 1028.504650 hPa. The displayed values are rounded. These references belong to that scenario and time; they are not current weather observations or a rule that every low and high system has those pressures.
Use the record to test your explanation
Write a prediction before collecting the comparison, naming the quantity that should change and the condition you will alter. Keep a reference run and vary one factor at a time when the question calls for a controlled test. Record the selected apparatus settings, units, and measurement interval. Where an activity supplies Ideal and Real modes or seeded variation, retain that identity with each record rather than mixing incompatible runs in one calculation.
Separate an instrument reading or counted observation from the model relationship used to explain it. Keep raw values alongside derived results so another student can reconstruct the argument. A graph needs labeled axes and a stated comparison range. If a result differs from a reference, inspect the conditions, rounding, and measurement procedure before changing the explanation.
For a classroom discussion, compare claims supported by the same evidence and identify an additional measurement that would distinguish competing accounts. Finish with a claim, the relevant observations, and reasoning tied to this course's model. State a specific limitation instead of assigning a general error label to every disagreement.
Related investigations
Inspect parcel cooling in Cloud in a Bottle, then connect large-scale wind patterns to Atmosphere & Ocean Circulation. Retain observation time, wind convention, and the scale of the selected model before combining map and parcel evidence.
Common questions
Standards alignment
- NY HS-ESS2-8
- NY Regents “The Sky is the Limit”
More Earth Science labs
- Members
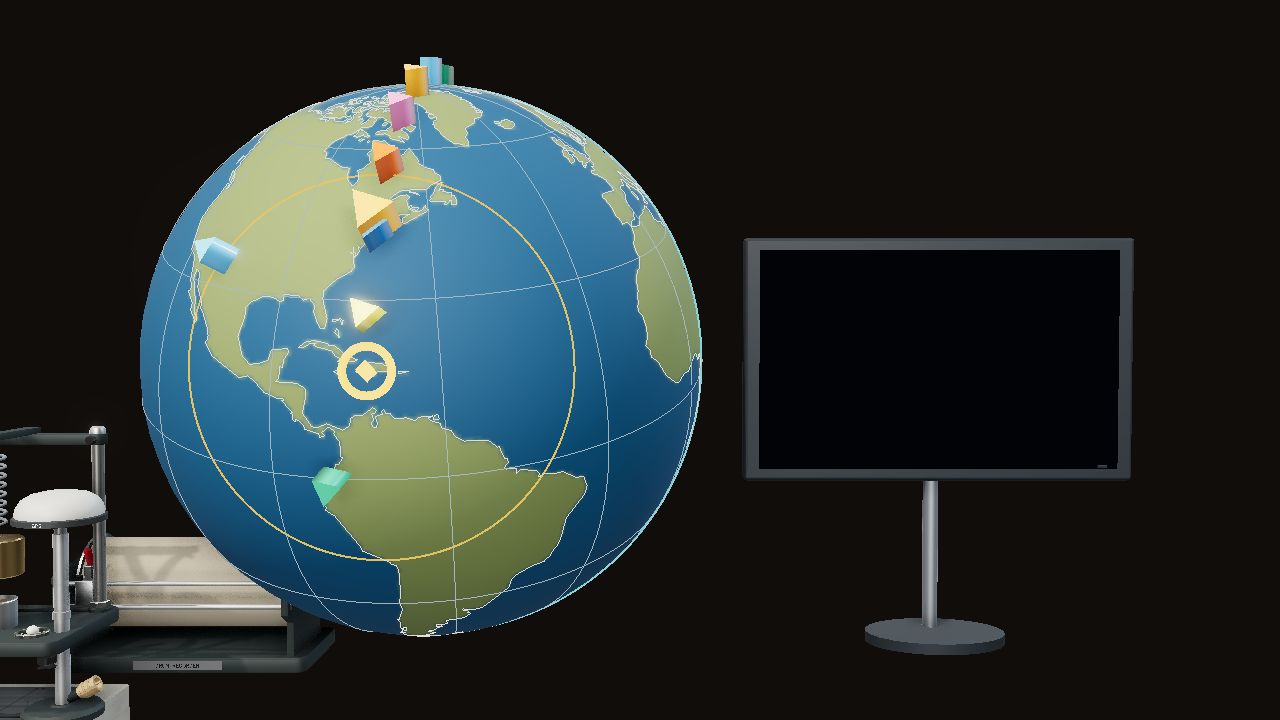
Earth Science
Earthquake Epicenter
Seismometers find where a quake started — and what lies deep inside Earth.
- Members
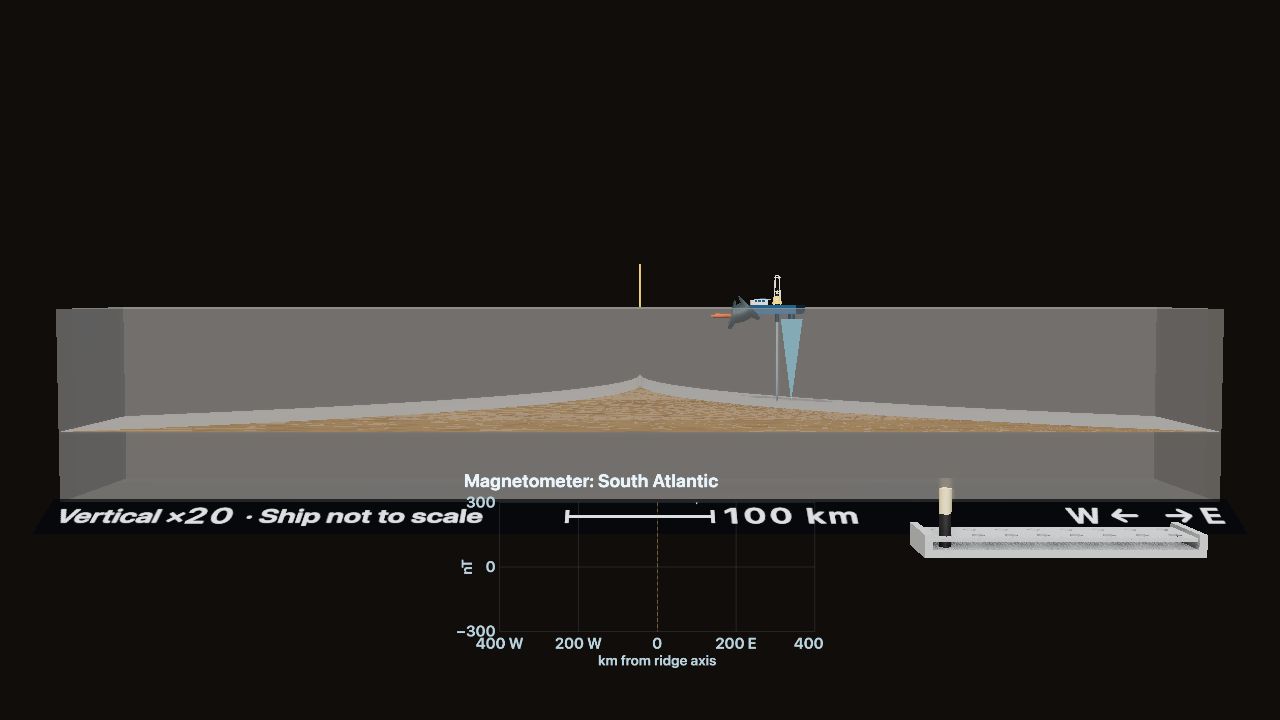
Earth Science
Seafloor Spreading & Plate Boundaries
Tow a magnetometer and drill cores across a mid-ocean ridge. What record do the seafloor rocks keep?
- Members
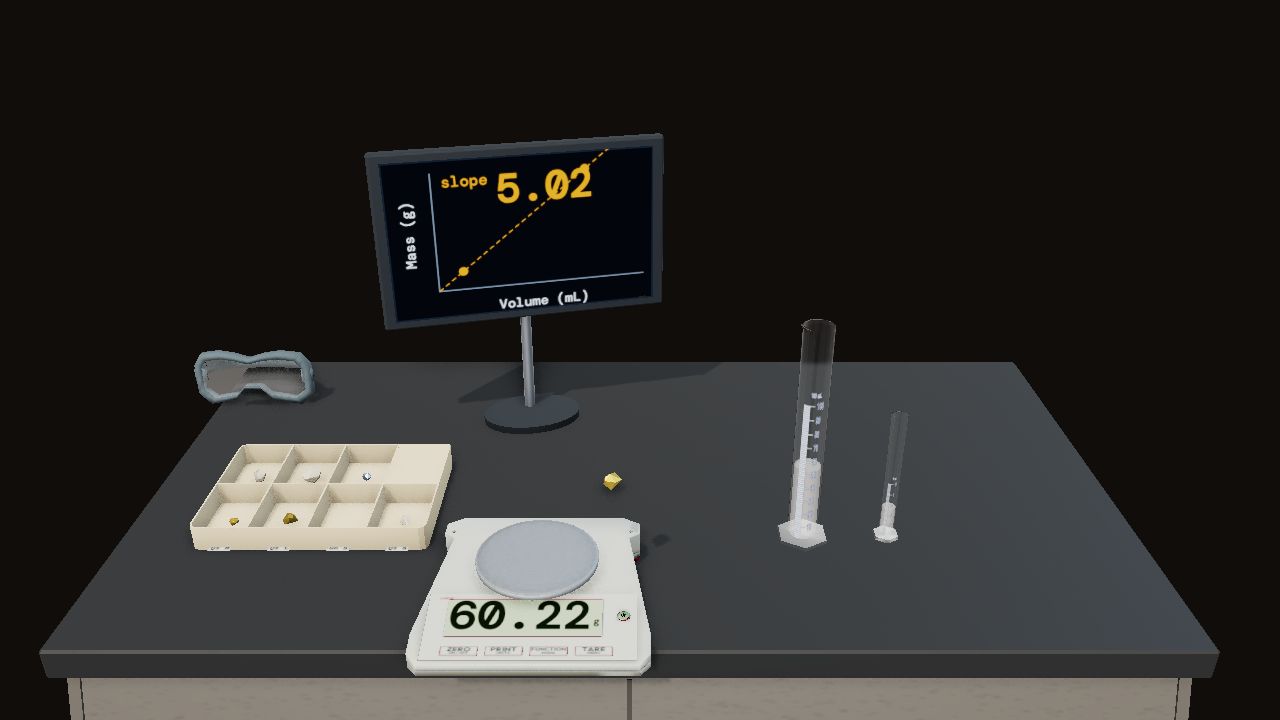
Earth Science
Mineral & Rock Identification
Scratch, streak, and split unknown specimens. Name the mineral, then the rock.


